
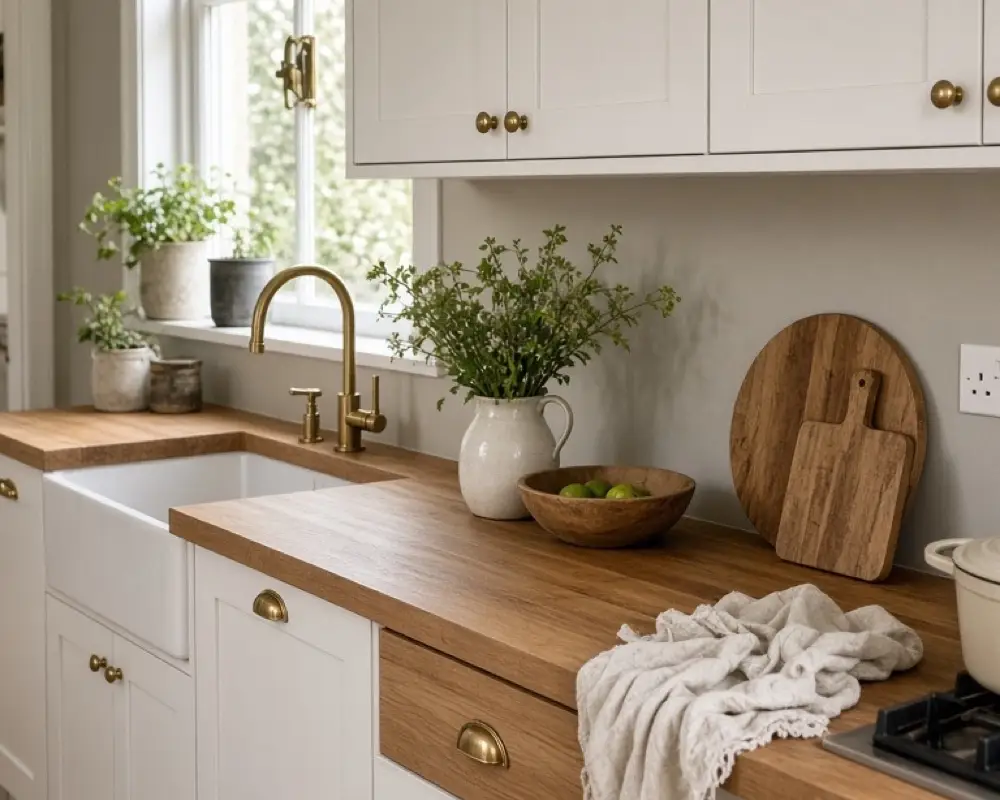
12 Kitchen Wall Treatments That Skip a Full Backsplash Remodel

On this page14 sections
- Paint a band the height of the splash zone
- Paint the tile you already have
- Add beadboard only where the tile stops
- Hang one open shelf instead of a new cabinet
- Run a rail for the pans you use
- Use peel-and-stick on one wall, not every wall
- Frame the window instead of the whole wall
- Lean boards, do not hang a gallery
- Wainscot the eating side only
- Light the wall you are not changing
- Swap the knobs before you touch the wall
- Leave one wall plain on purpose
- Tips Before You Start
- FAQ
Kitchen wall ideas do not have to start with a dumpster. If the cabinets are sound and the counters are fine, the wall between them is the part you can change in a weekend. We treat that band, about 18 inches in most kitchens, as its own project.
A full backsplash remodel means demo, thinset, and a week of eating over the sink. These twelve treatments stop short of that. Some are paint. Some are a rail. One is a single run of panel where the old tile is only ugly, not failing.
The same “use the surface you have” idea sits behind our living room edits. In a small kitchen, pair this with the coffee corner so the new wall does not become another shelf of mugs.
As an Amazon Associate I earn from qualifying purchases.
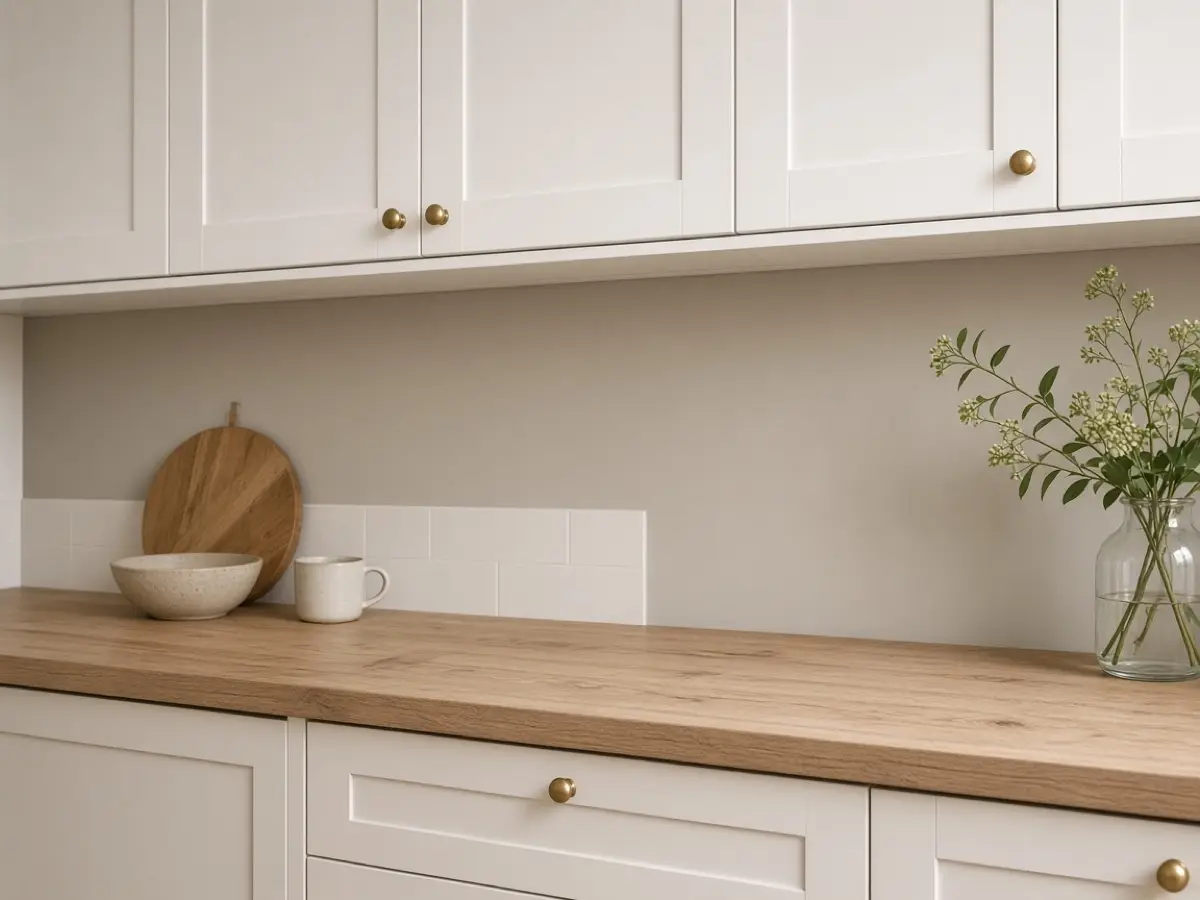
1. Paint a band the height of the splash zone
Tape a line 18 inches above the counter, or stop the paint where the upper cabinets begin if that gap is shorter. Use a satin or semi-gloss paint that you can wipe. Flat paint looks soft for a day and then holds every splash of tomato sauce. We cut in with a brush along the countertop caulk, then roll.
Pick a color one or two steps deeper than the cabinets, not a surprise neon. If the cabinets are white, a warm greige or a soft sage is enough. Two coats, and remove the tape while the second coat is still slightly soft so the edge does not tear. This is the treatment we try before we buy anything that has to be adhered.
Get the look


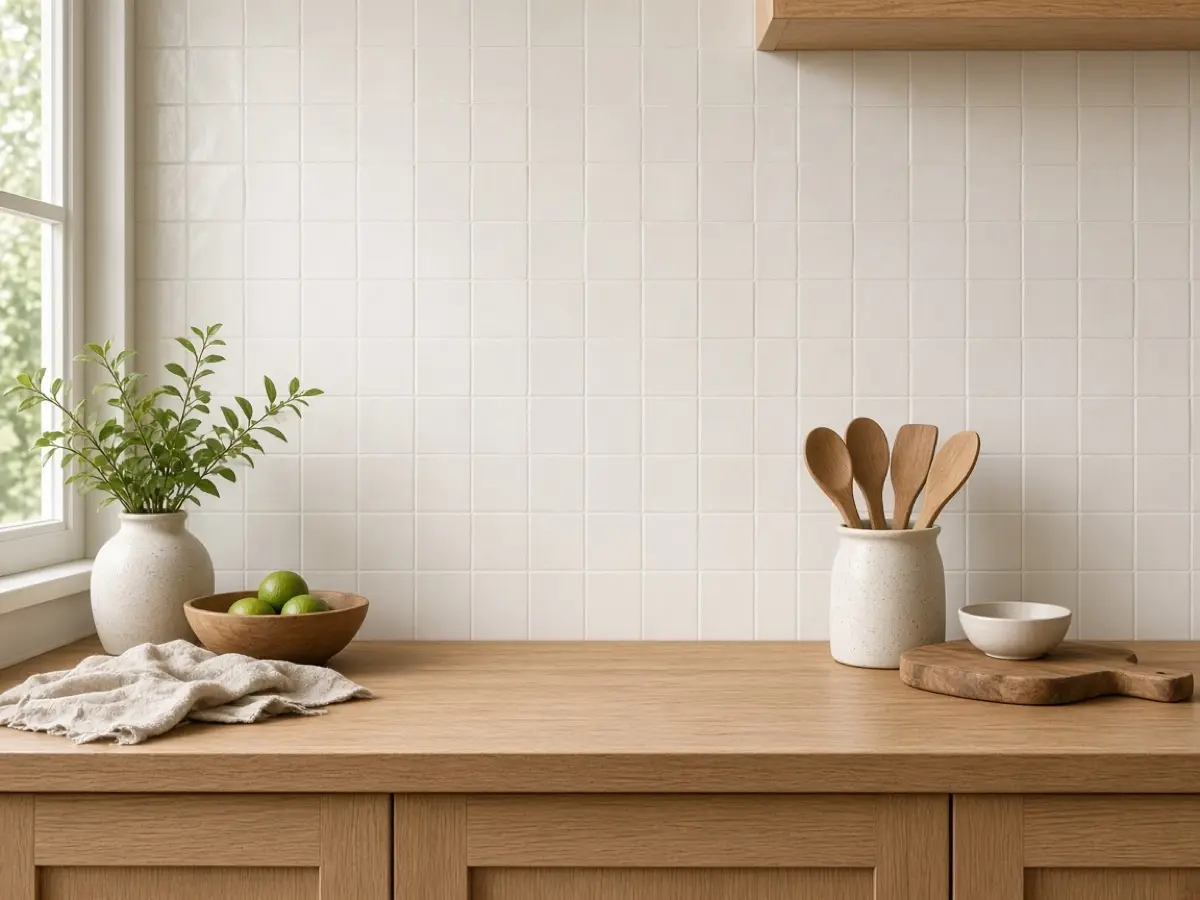
2. Paint the tile you already have
Glazed tile can take a bonding primer made for slick surfaces, then the same satin paint as the wall. Clean it with a degreaser first. Kitchen grease is why paint peels over the stove, not a bad brush. Work in a 4-tile test behind the toaster before you commit the whole run.
Skip this if the tile is loose, cracked, or the grout is soft and sandy. Paint will not fix a failing set. If the test still looks good after you wipe it for a week, paint the rest. Use a small roller so you do not flood the grout lines, and expect to touch the lines with a brush.


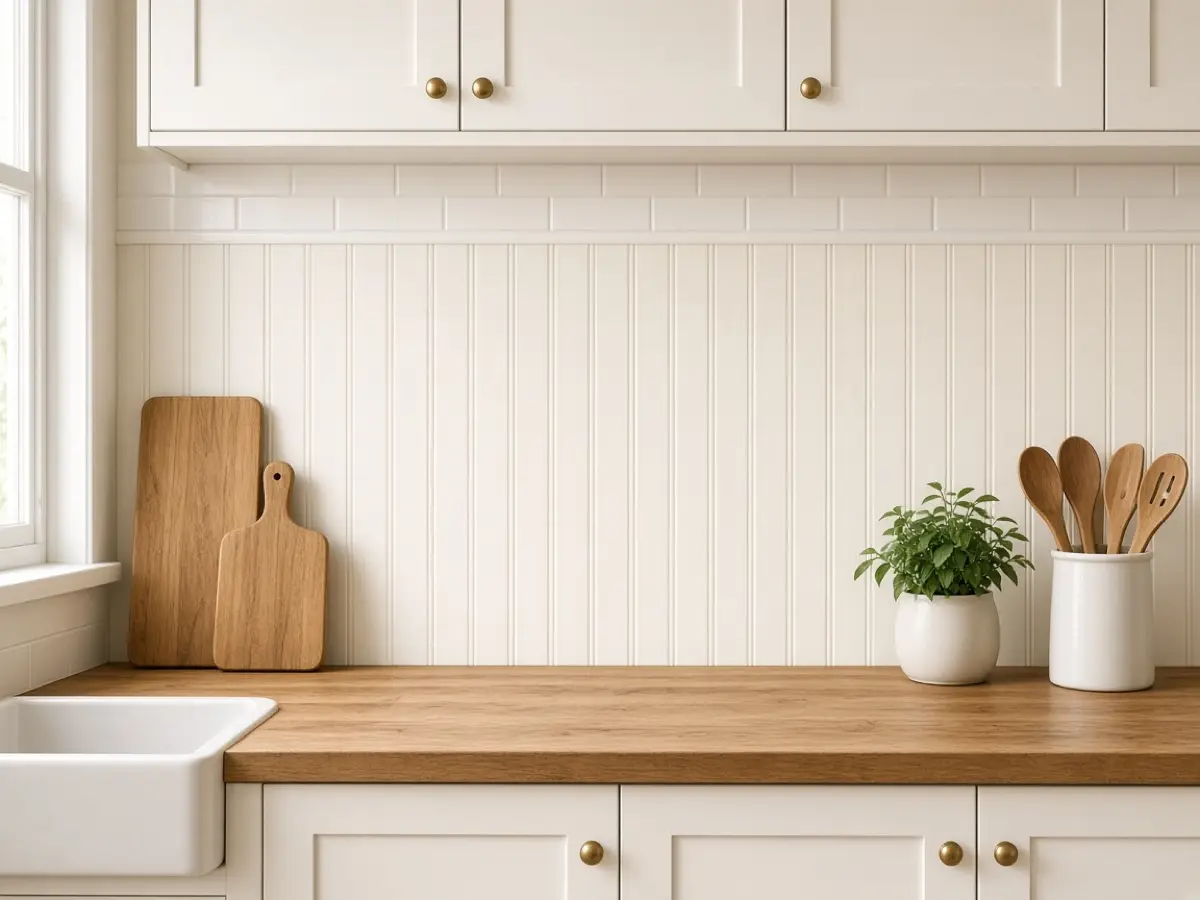
3. Add beadboard only where the tile stops
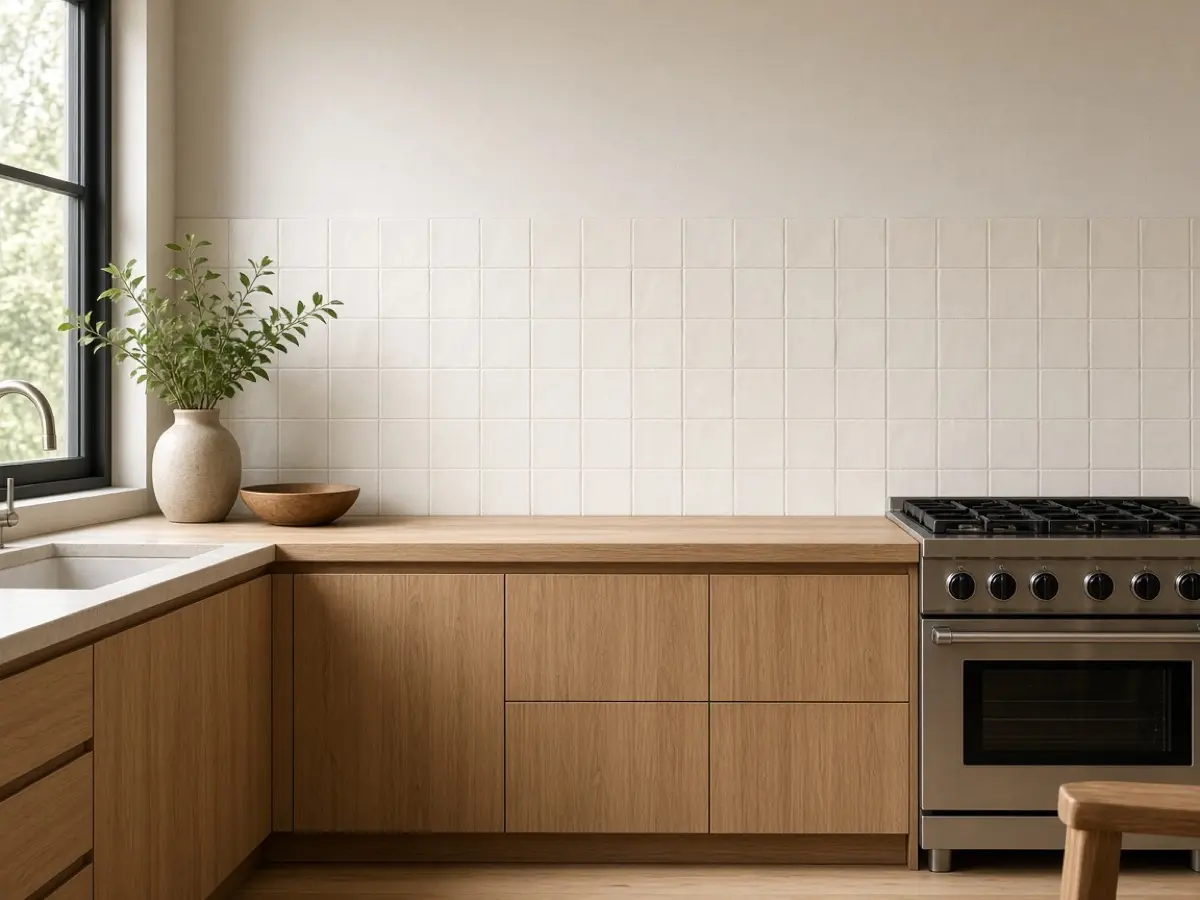
If the tile ends at 4 inches, a 12-inch run of beadboard or shiplap above it can finish the wall without touching the tile. Nail or adhesive the panel into studs where you can, and caulk the joint where panel meets tile with a kitchen-rated silicone in a close color. The panel should stop at least 2 inches short of the range if you cannot use a material rated near heat.
Prime the raw wood before it goes up. Unprimed beadboard yellows behind the kettle. Paint it the wall color if you want quiet, or a slightly warmer white if the tile is stark. This is trim, not a second backsplash, so keep the profile shallow, around 1/4 to 3/8 inch, or the upper cabinet doors may clip it.
Get the look


4. Hang one open shelf instead of a new cabinet
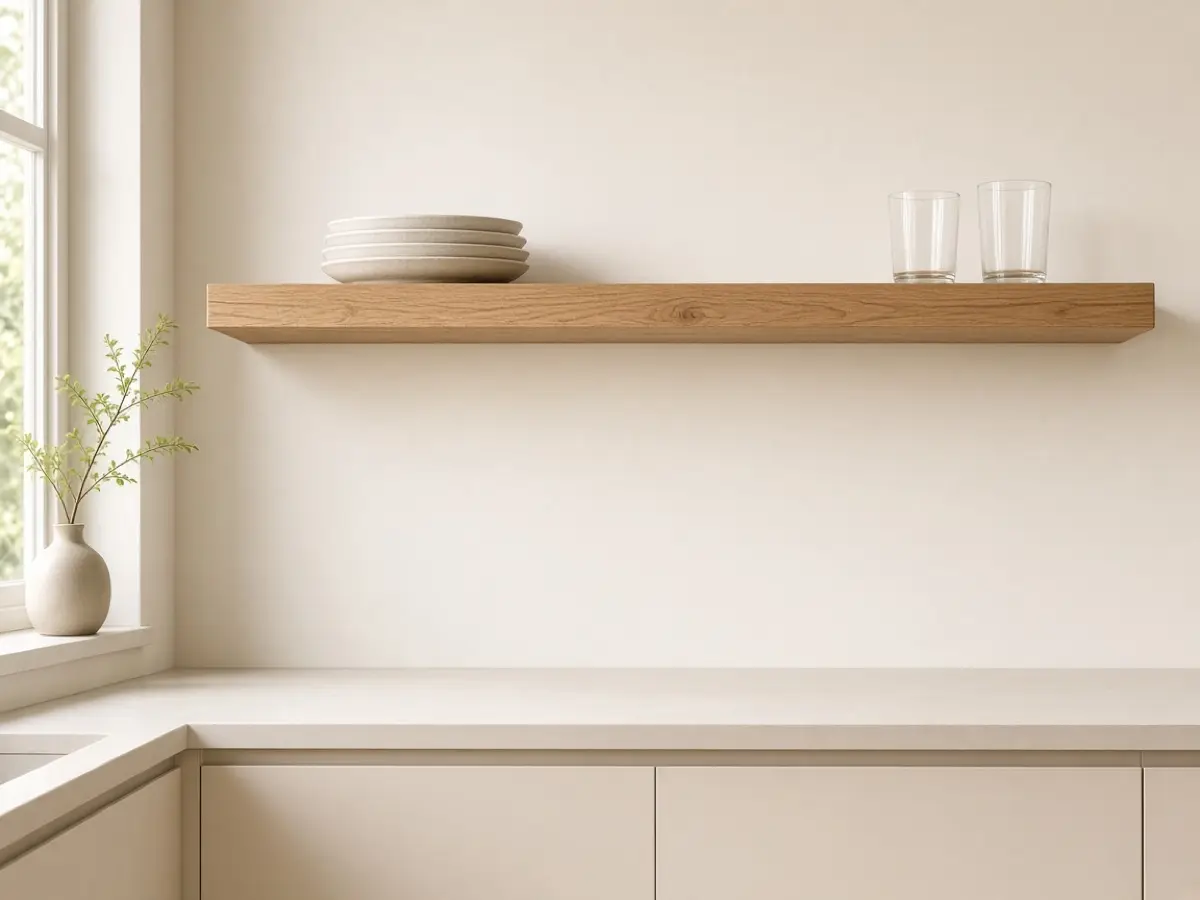
On a wall that has no upper cabinet, one 8- to 10-inch-deep shelf at about 18 inches above the counter holds daily dishes. Two shelves start to look like a store. The brackets go into studs. A shelf full of plates is heavier than it looks, often 30 pounds once you add bowls.
Leave the wall under the shelf clear so the counter still reads as work space. Style it the way we style a bedroom shelf: daily things in front, nothing stacked so high it hits the next object. If the shelf is over a sink, raise it to 22 inches so you are not bumping pitchers when you wash.
Get the look


5. Run a rail for the pans you use
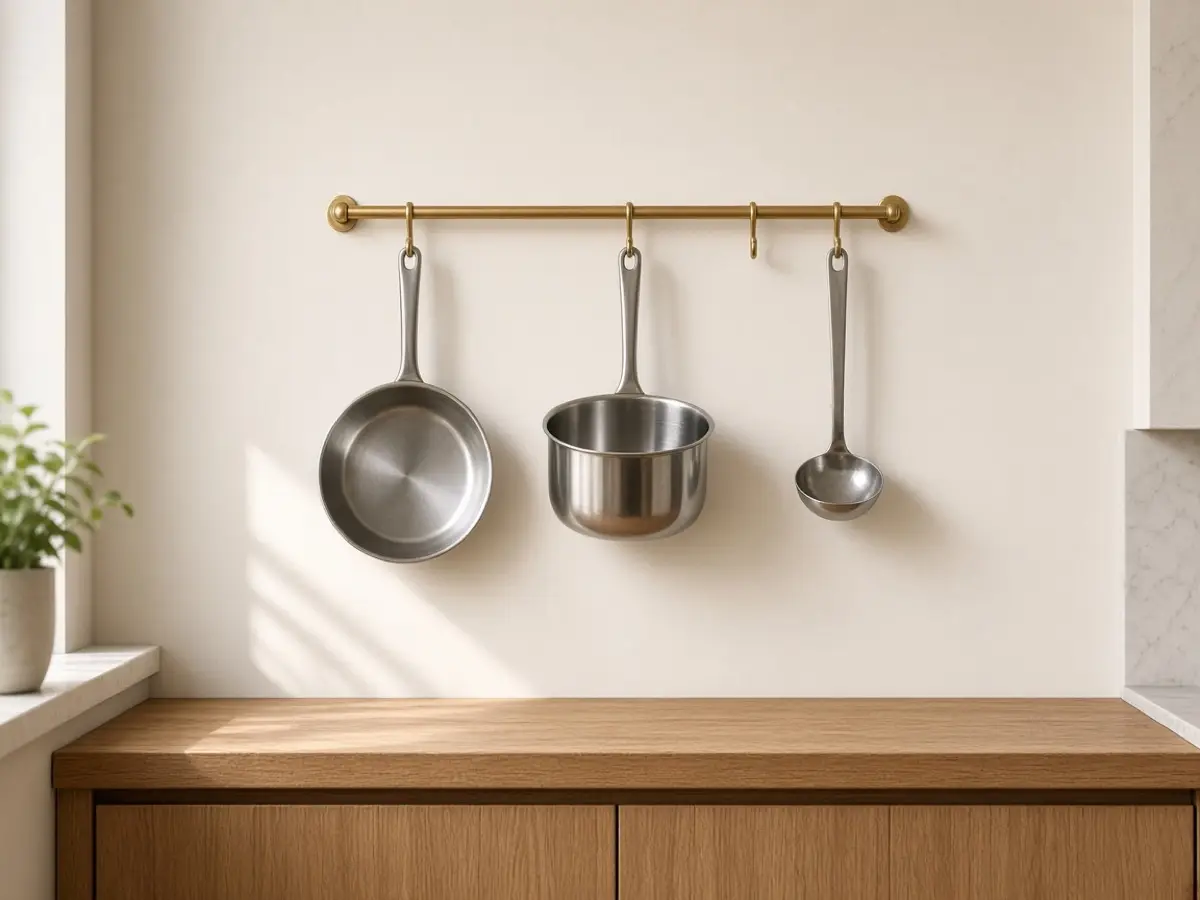
A steel or brass rail on the backsplash, 8 to 10 inches above the counter and at least 4 inches clear of the burners, holds three or four pans on hooks. More than that and the wall looks like a restaurant pass. Screw the rail into studs or use anchors rated for the load. An empty rail with one ladle is decoration. A rail with the skillet you actually fry in is storage.
Keep the hooks the same metal as the rail. Mixed finishes are fine on a cabinet knob and a faucet. On a 36-inch rail they look accidental. Wipe the wall behind the rail when you wipe the pans. Oil mist is the maintenance, and it is still less work than regrouting.


6. Use peel-and-stick on one wall, not every wall
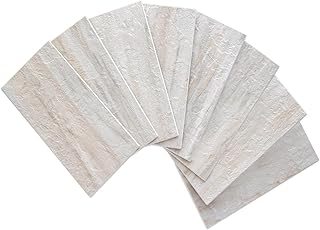
Limit peel-and-stick tile to the wall you see from the doorway, and stop at the stove. Most vinyl tiles are not happy next to a gas burner. The wall should be smooth, clean, and dry. A textured orange-peel wall needs a skim or the tile edges will telegraph every bump.
Start from the center of the wall so the cuts at the cabinets match. Leave the backing paper’s grid, and press each tile with a roller. If a tile bridges the counter caulk, it will lift. Stop a hair above the caulk and seal that edge. This is a renter-friendly layer. It is not a substitute for cement board behind a cooktop.
Get the look


7. Frame the window instead of the whole wall
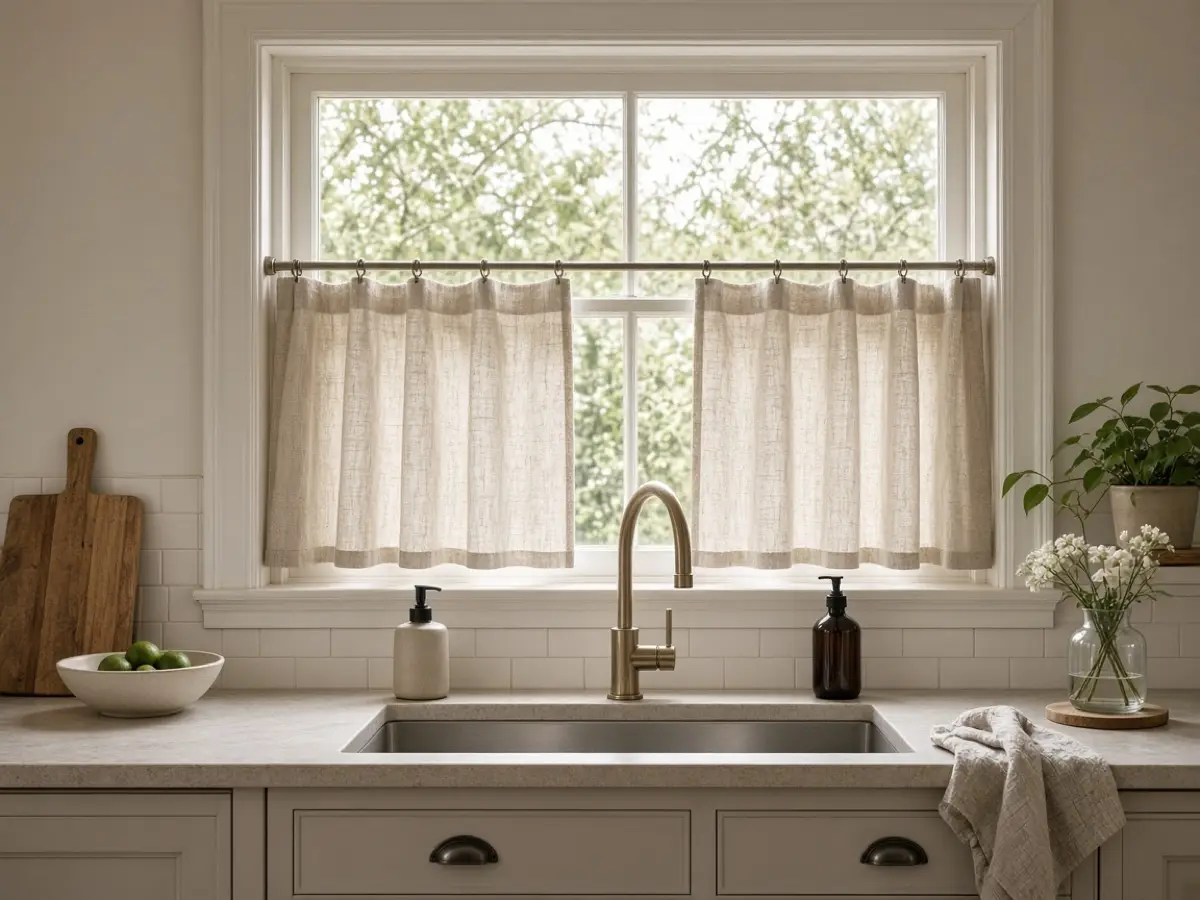
If the only bare wall is the one with the window, treat the window, not the drywall. A wood casing one step thicker than the existing trim, painted the cabinet color, makes the wall look finished. Keep the sill clear enough to wipe. A 4-inch sill can hold a small plant. It cannot hold a row of bottles and still be a window.
Cafe curtains on a rod set just below the middle of the glass hide the neighbor and leave the top open for light. The rod should extend 2 inches past the casing on each side. This is the move when a backsplash would be chopped into odd pieces by the window anyway.
Get the look


8. Lean boards, do not hang a gallery
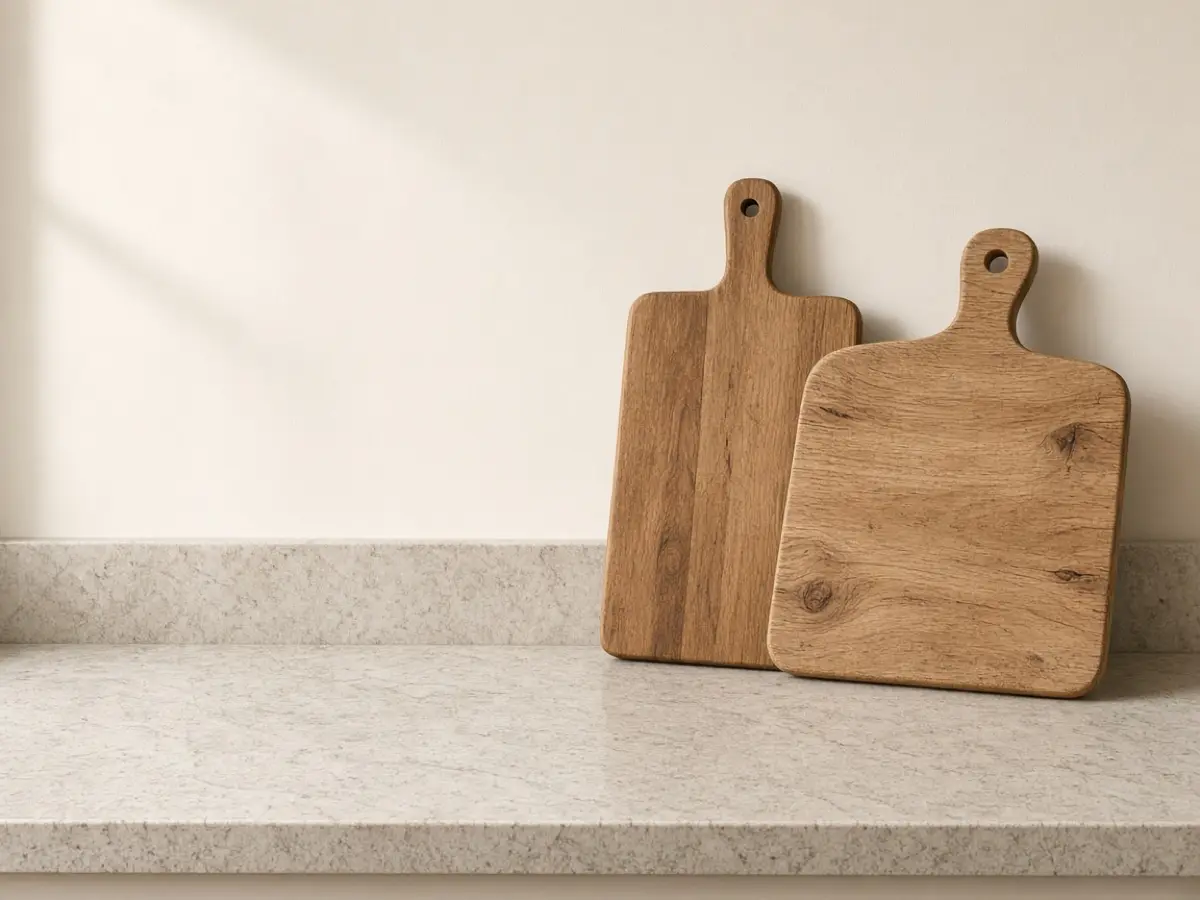
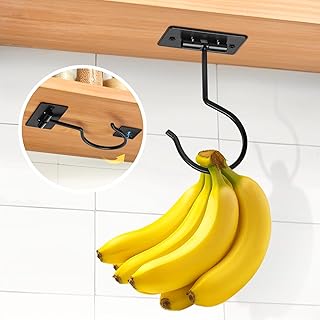
Cutting boards are the art. Lean two or three on the counter against the wall, the largest behind, none wider than the counter depth minus 4 inches so they are not in the prep zone. A hook under the cabinet can hold the one you use every day. The leaned boards are the ones you like looking at and can still grab.
Do not lean them over the stove. Heat and steam warp wood. If the counter is stone, a small felt dot on the bottom corners keeps the board from skating. This costs nothing if you already own the boards, which is the point of skipping a remodel.


9. Wainscot the eating side only
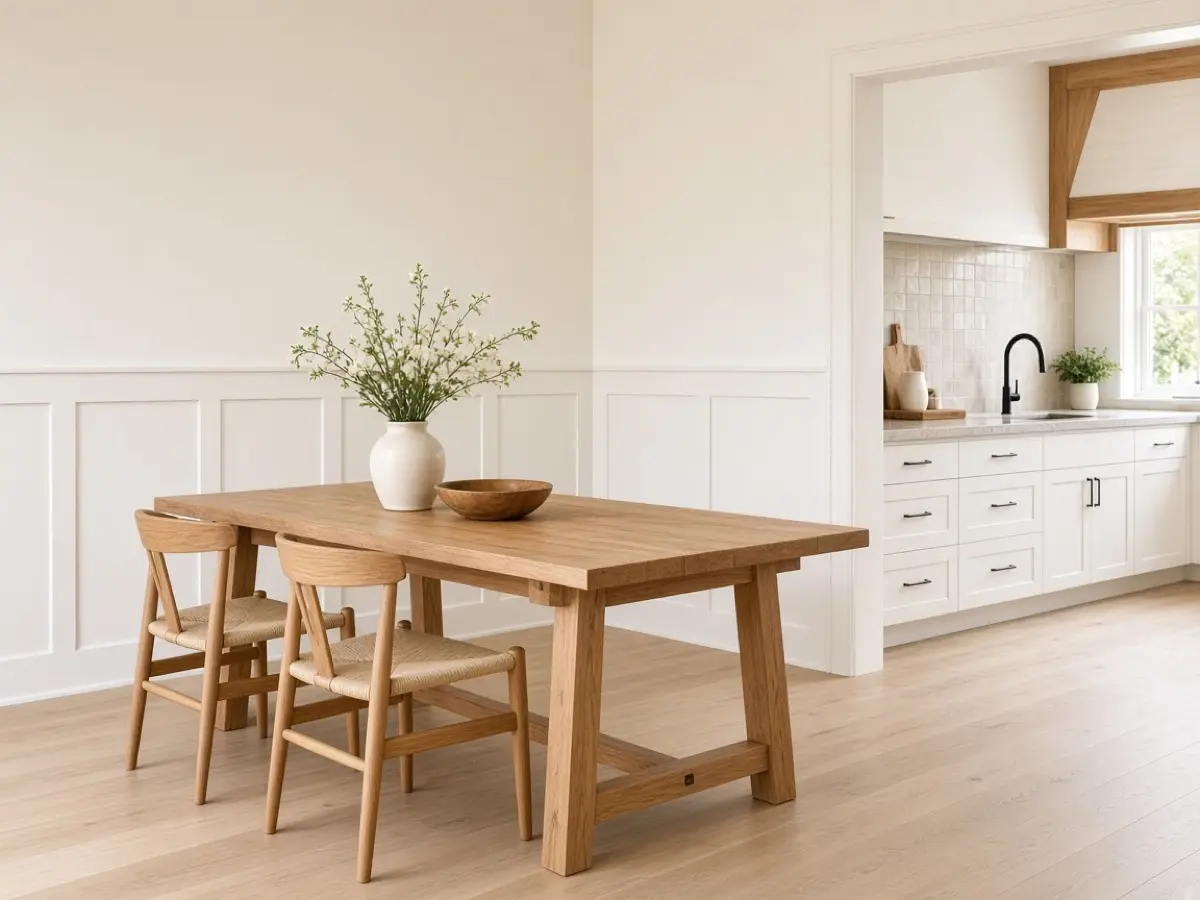
The wall by the table does not need to match the splash behind the sink. Board-and-batten or a simple chair rail at 32 to 36 inches gives the eating side a line, and the paint above it can be the color you were afraid to put near the stove. Nail into studs at the verticals. Caulk the bottom so crumbs do not live in the gap.
Keep the pattern large. Battens every 16 inches, on the studs, look intentional. Battens every 6 inches look busy in a small kitchen. Paint the lower section a wipeable satin. The upper wall can be flatter. You are not remodeling the cook zone. You are giving the seat a finished wall to face.


10. Light the wall you are not changing
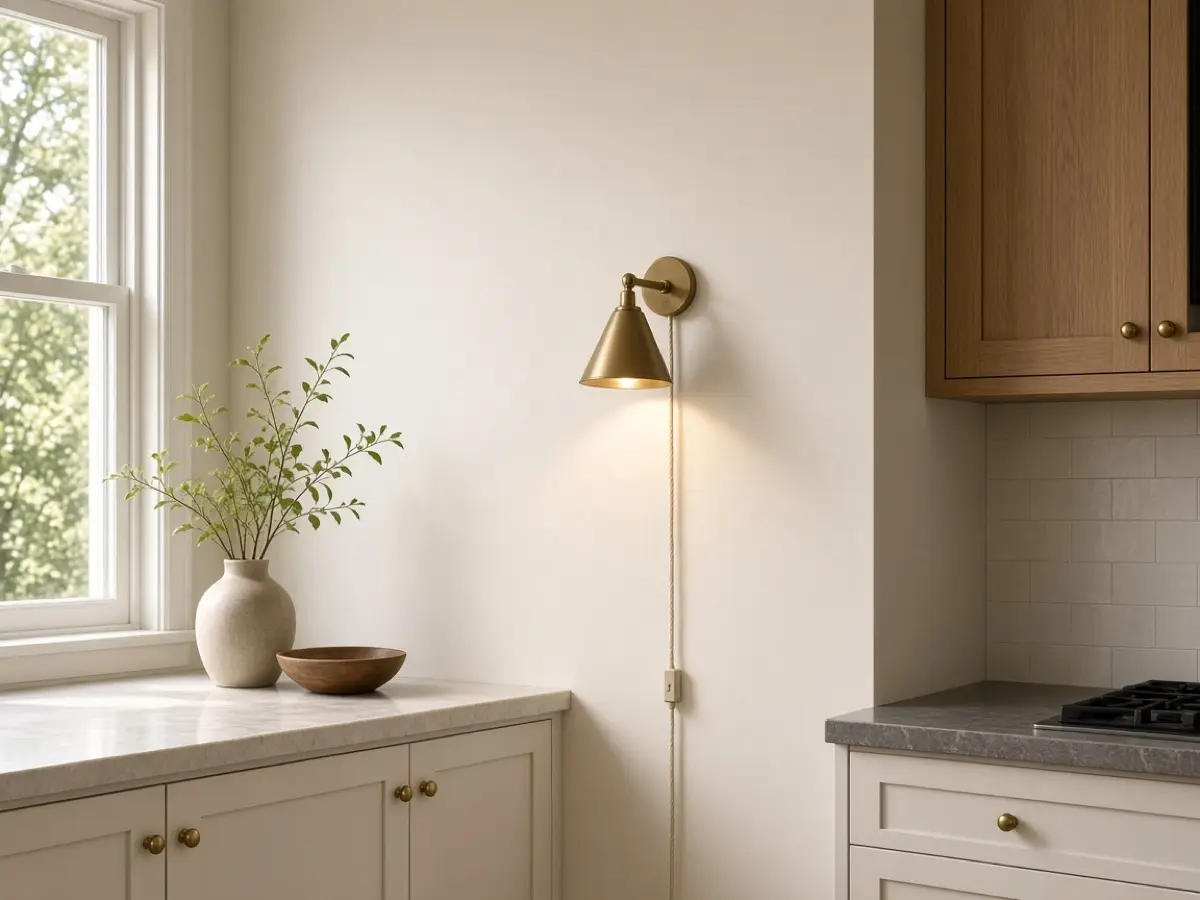
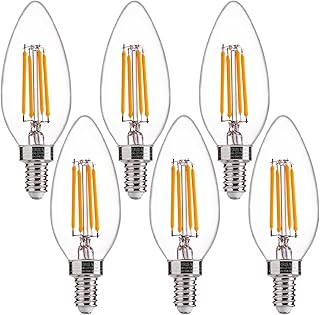
A picture light or a short sconce aimed at a plain wall does more at night than a new tile color you only notice at noon. Mount the fixture so the bulb sits about 60 inches off the floor on a wall you walk past, and keep it 6 inches clear of any cabinet. A warm 2700K bulb matches the lamps in the living room.
If you cannot add a box, a plug-in sconce with the cord run straight down to an outlet is the honest version. Hide the cord in a paintable channel. Do not drape it across the backsplash. The wall stays plain. The light is the treatment.


11. Swap the knobs before you touch the wall
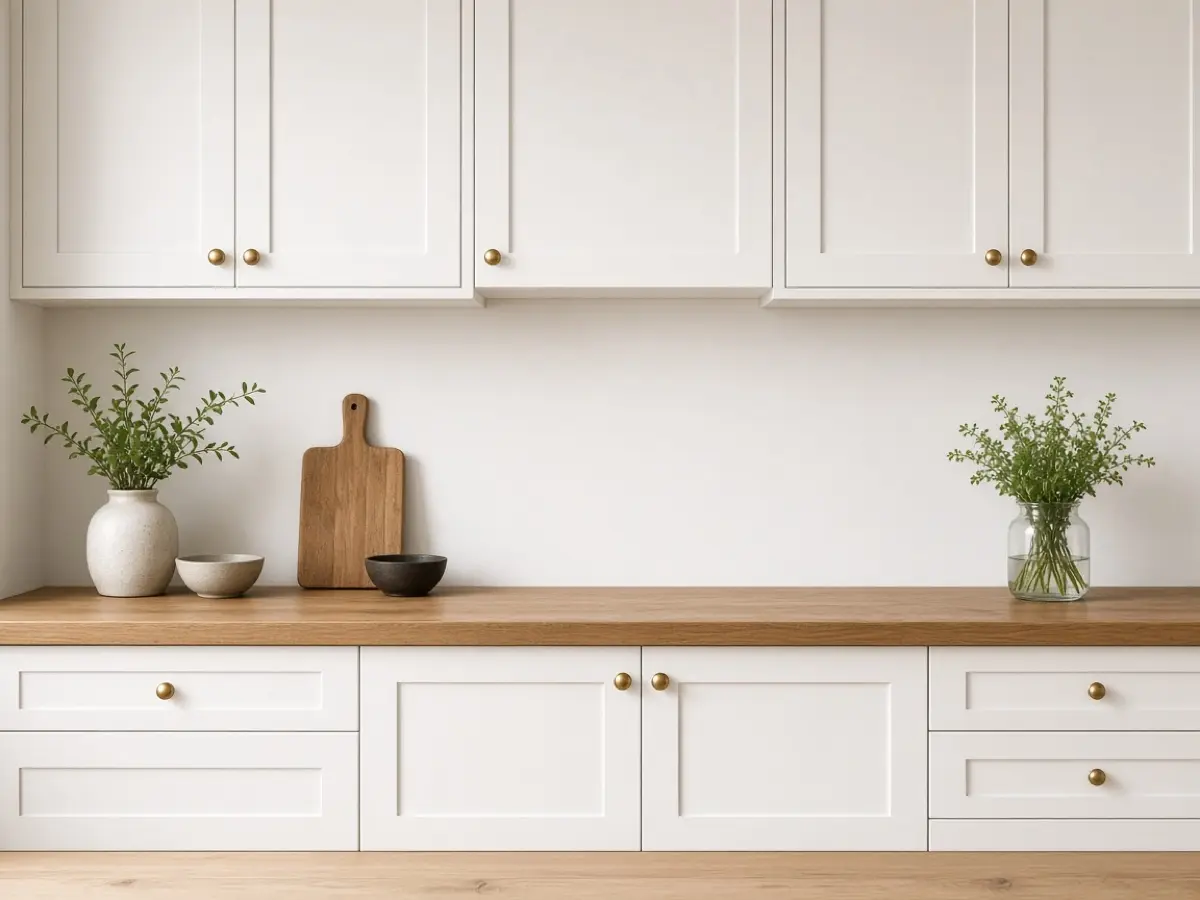
If the wall is fine and the cabinets look tired, the hardware is the project. One finish, one style, measured center to center so the new screws use the old holes when they can. A 3-inch pull on a drawer and a 1-1/4-inch knob on a door is a classic pair. Mixing five finishes because they were in the drawer is how the kitchen looks unfinished.
Fill extra holes with wood filler stained or painted to the cabinet, not with another knob. Then look at the wall again. Many “backsplash problems” were really a clutter of metals. Give it a week before you order tile.


12. Leave one wall plain on purpose
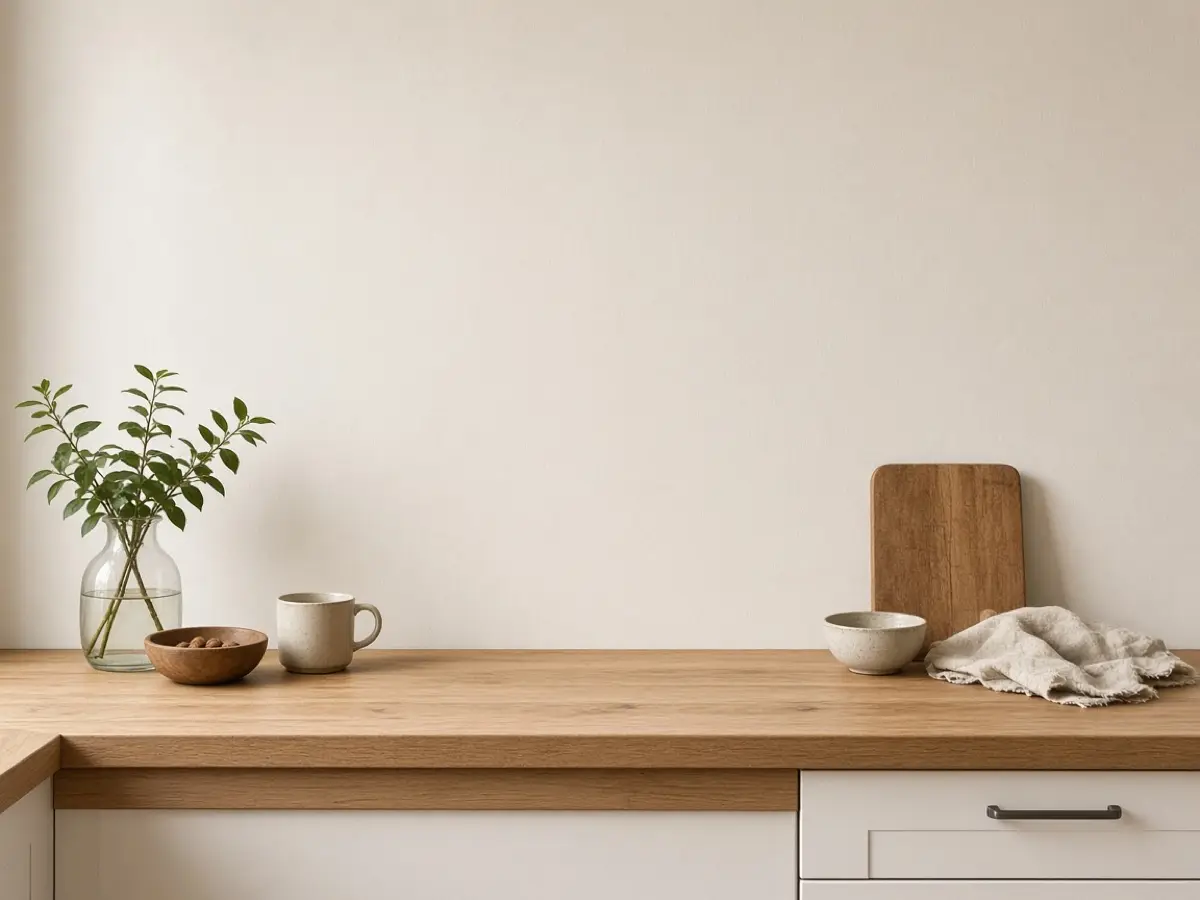
The last treatment is refusal. If three walls already have tile, open shelves, and a rail, the fourth wall should be paint and nothing else. A kitchen reads as remodeled when the eye can rest, not when every surface has a product on it. We pick the wall you see when you stand at the sink and leave it empty above the counter.
That plain wall is also the future backsplash, if you still want one in a year. You will know the color and the height because you lived with the paint. Until then, wipe it, hang nothing, and spend the remodel money on the vent hood filter and the drawer that sticks.
Get the look


Tips Before You Start
- Degrease the wall before paint, primer, or any peel-and-stick tile. Kitchen film is invisible until the edge lifts.
- Keep new materials at least a few inches off a gas burner unless the product is rated for that heat.
- Find studs before you hang a shelf or a rail. Plates and pans are heavier than a picture.
- Tape the height of a paint band and live with the tape for a day before you open the can.
- Match one metal finish on the wall hardware. The faucet can be the exception, not every hook.
- Stop after one treatment. A painted band plus tile plus a rail plus beadboard is a remodel you did badly.
FAQ
Can I update a kitchen backsplash without removing tile?
Yes, if the tile is solid. Clean it, prime it with a bonding primer, and paint it, or stop the new material above the tile. Loose tile and soft grout need repair first. Paint will not hold them on the wall.
What is the easiest kitchen wall idea for a rental?
Paint, if your lease allows it, or a rail and a shelf that use a few screws you can fill later. Peel-and-stick belongs on one smooth wall, not over textured paint or next to the stove.
How high should a kitchen shelf be above the counter?
About 18 inches on a prep wall, and closer to 22 inches over a sink so you are not hitting pitchers. Brackets should hit studs once the shelf is holding real dishes.
Should every kitchen wall match?
No. The cook wall can stay simple and wipeable. The wall by the table can take board-and-batten or a deeper paint color. One plain wall keeps the room from looking busy.
A kitchen wall can change without a backsplash crew. Paint the band, hang the rail you will actually use, and leave one wall alone. If you still want tile next year, you will know exactly which wall earned it.