
12 Home Coffee Corners for a Counter You Also Cook On

On this page14 sections
- Claim 18 inches and mark it
- Put every loose thing on one tray
- Keep the machine out of the knife zone
- Hang the mugs
- Close the beans
- Put water one step away
- Run the cord along the back
- Leave a landing spot for the cup
- Add a shelf only if the cabinet is high enough
- Reset the tray before you cook
- Skip the stool if the path is tight
- Match the hardware you already own
- Tips Before You Start
- FAQ
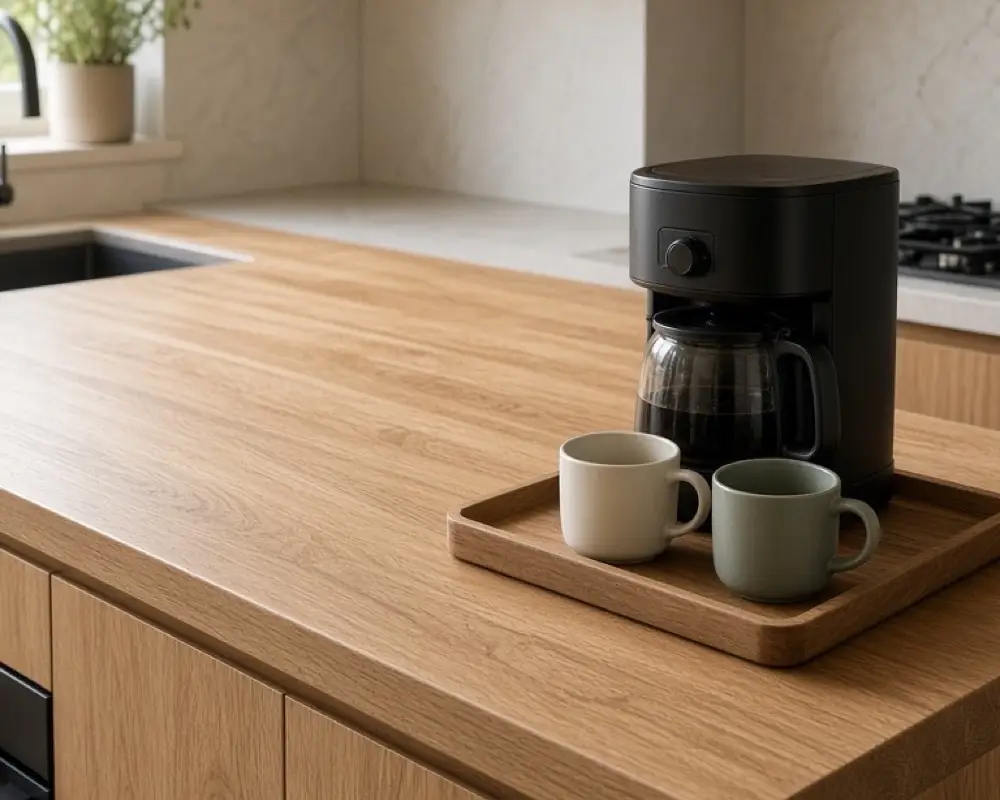
Home coffee bar ideas fall apart in a kitchen where dinner still has to happen. The machine, the mugs, and the beans want a home. The cutting board wants the same counter at 6 p.m. We give the coffee a measured strip and a tray, then we put it back inside that strip when the cup is poured.
A dedicated cart is lovely if you have a wall for it. Most of us have 18 inches at the end of a run of counter and a plug that already exists. That is enough if the coffee things cannot creep toward the sink.
Our shorter coffee corner is the one-tray version. This list is for the counter you also chop on. The same edge discipline shows up in the kitchen wall treatments: one zone, then stop.
As an Amazon Associate I earn from qualifying purchases.
1. Claim 18 inches and mark it
Measure 18 inches from the end of the counter, away from the sink and away from the stove. That is the coffee strip. Painter’s tape on the counter for a day tells you if the strip steals the only place you can set a sheet pan. If it does, shrink the strip to 14 inches and choose a slimmer machine.
Leave 15 inches of height under the upper cabinet so a kettle lid can open. If the cabinet sits lower, the machine lives on a cart beside the counter, not under a door that hits the lid. Write the measurement on the tape. When the tape comes off, the habit should stay.
Get the look


2. Put every loose thing on one tray
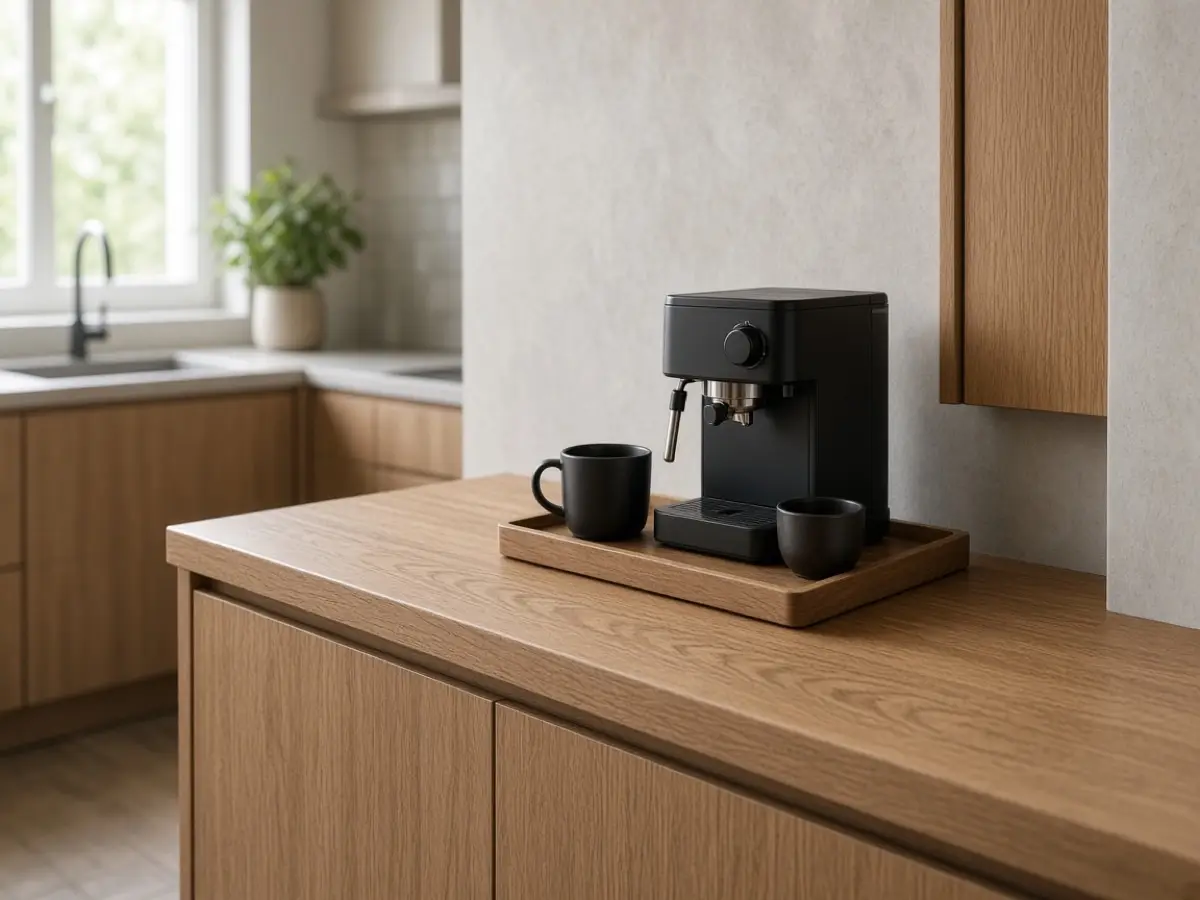
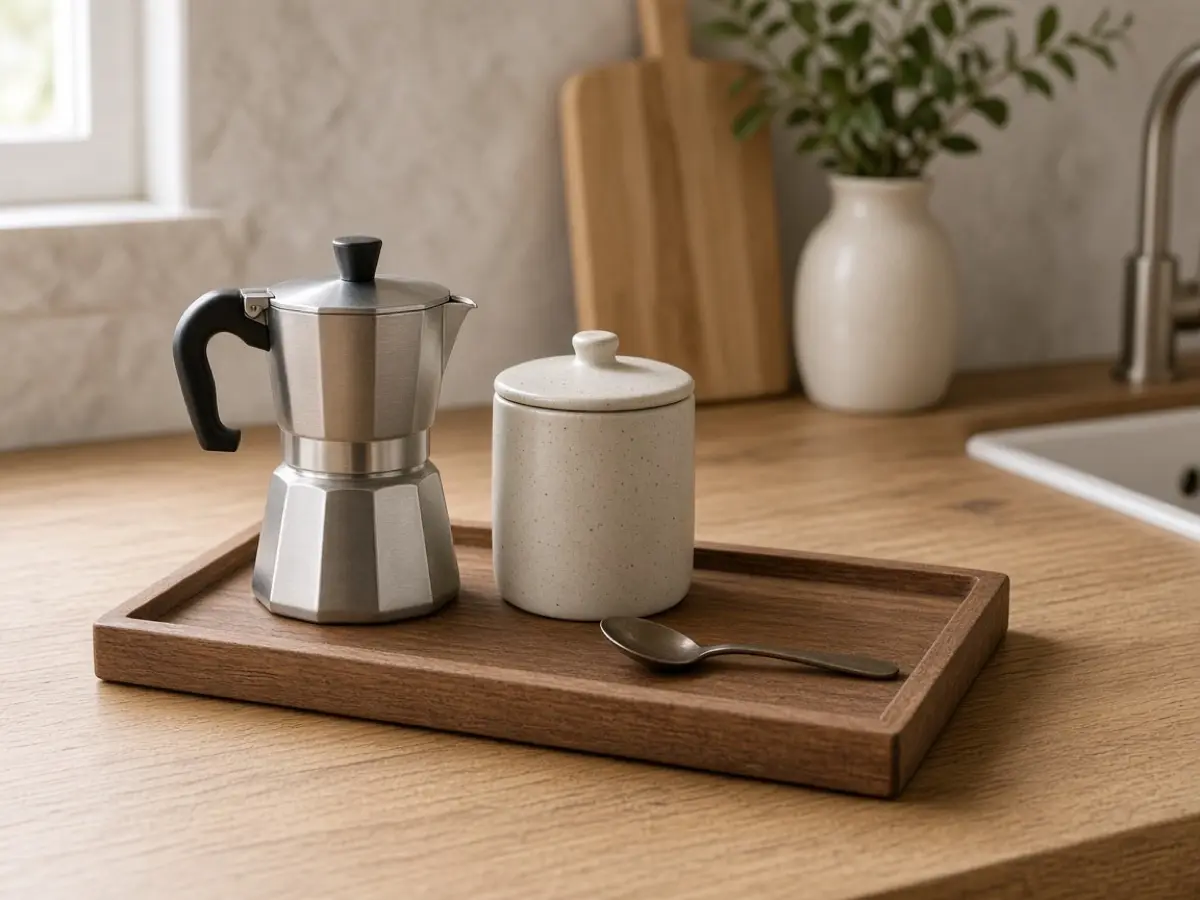
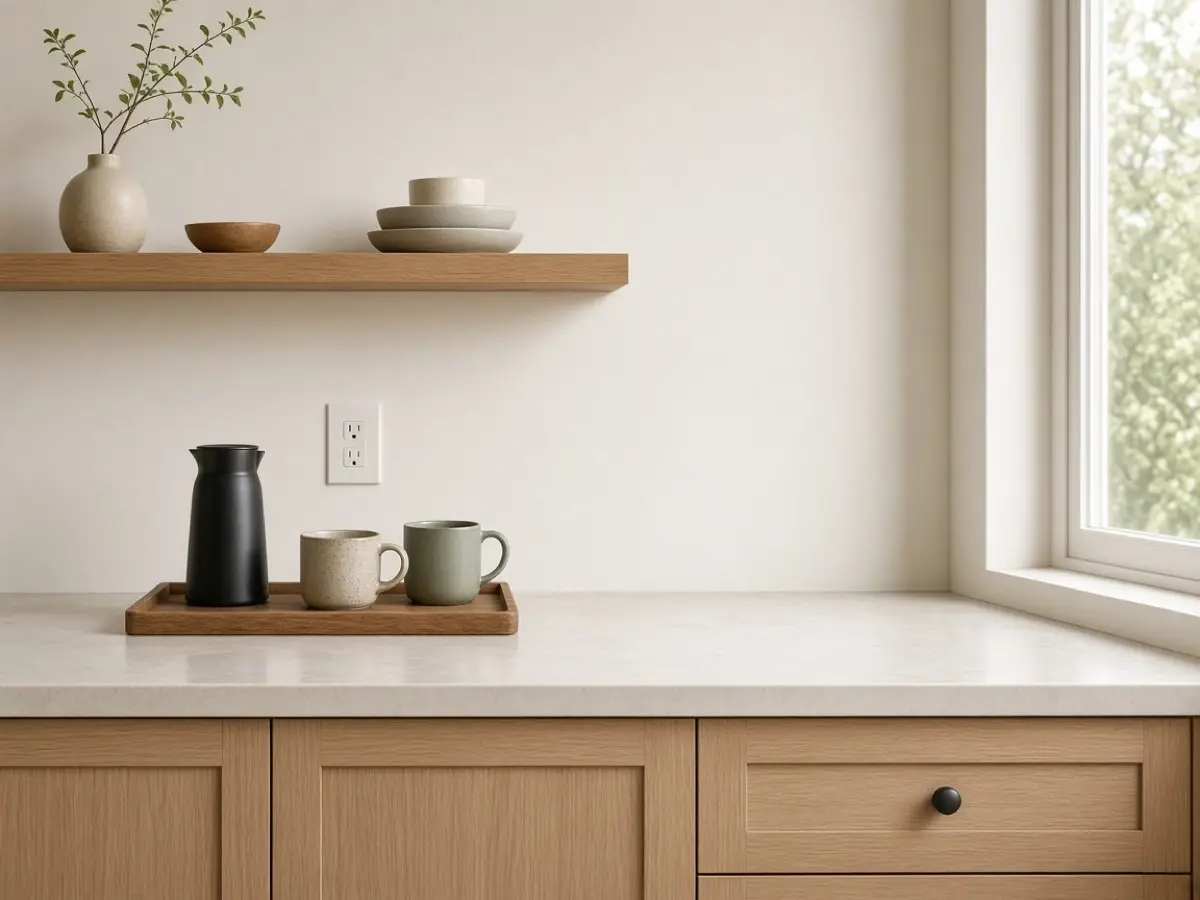
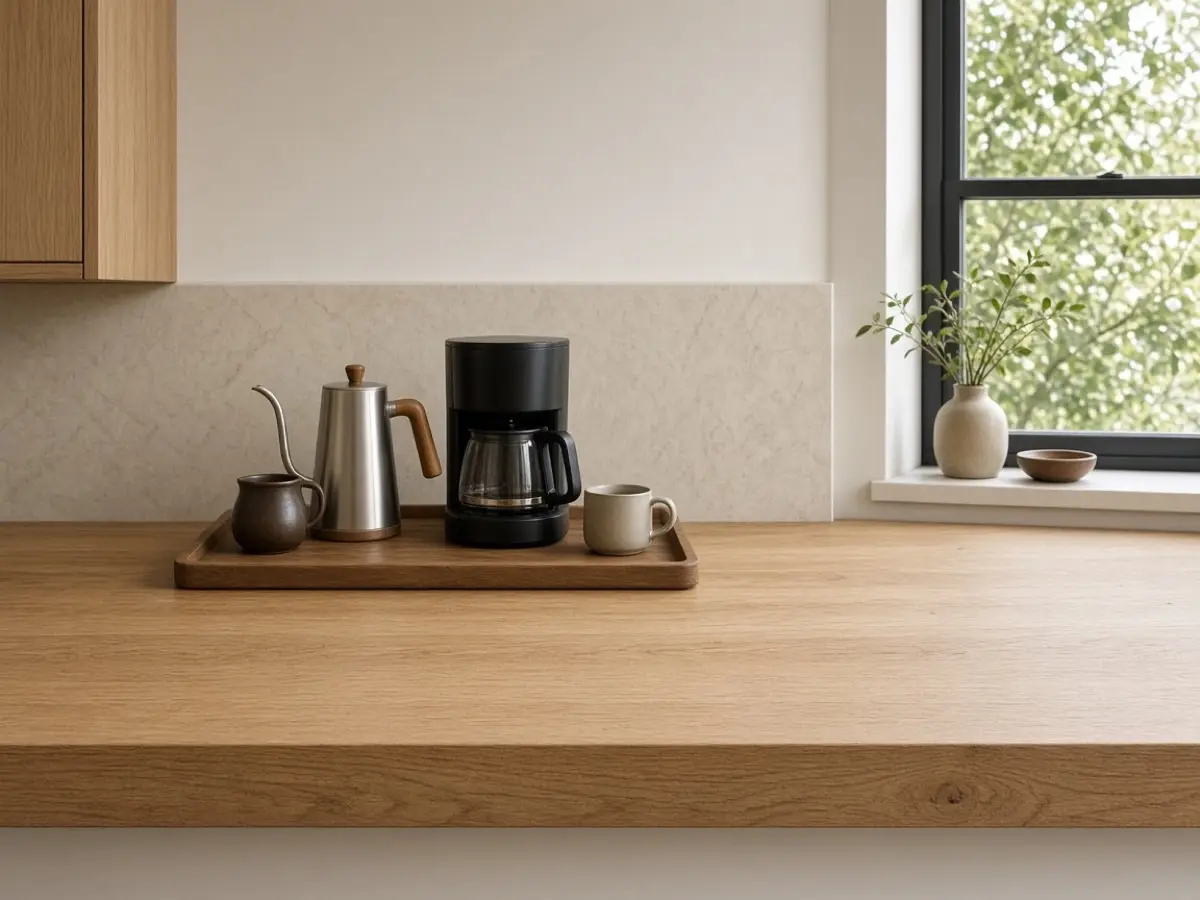
The tray is the property line. Beans, a spoon, and the machine sit on it. Crumbs stay on it. When you cook, you can lift the whole tray to the top of the fridge or slide it to the back, and the counter is a counter again. A tray about 12 by 15 inches fits an 18-inch strip with a little bare counter in front for the cup you are using.
Choose a lip at least 1/2 inch high so a scoop does not roll into the butter. Wood is fine if you wipe spills the same day. A metal tray is easier beside a kettle. One tray. A second tray is how the coffee corner becomes the junk corner.


3. Keep the machine out of the knife zone
The 24 inches beside the sink is the prep zone. The coffee machine does not live there, even if the outlet is convenient. Use the end of the run, or the counter on the far side of the fridge. If the only outlet is in the prep zone, add a short cord along the backsplash to a better spot rather than parking the machine where the board goes.
A machine deeper than 12 inches will overhang a standard 25-inch counter once you add a cup. Measure depth with the reservoir full and the door open. That open-door depth is the real one. If it crosses into the walkway, it is too deep for this kitchen.
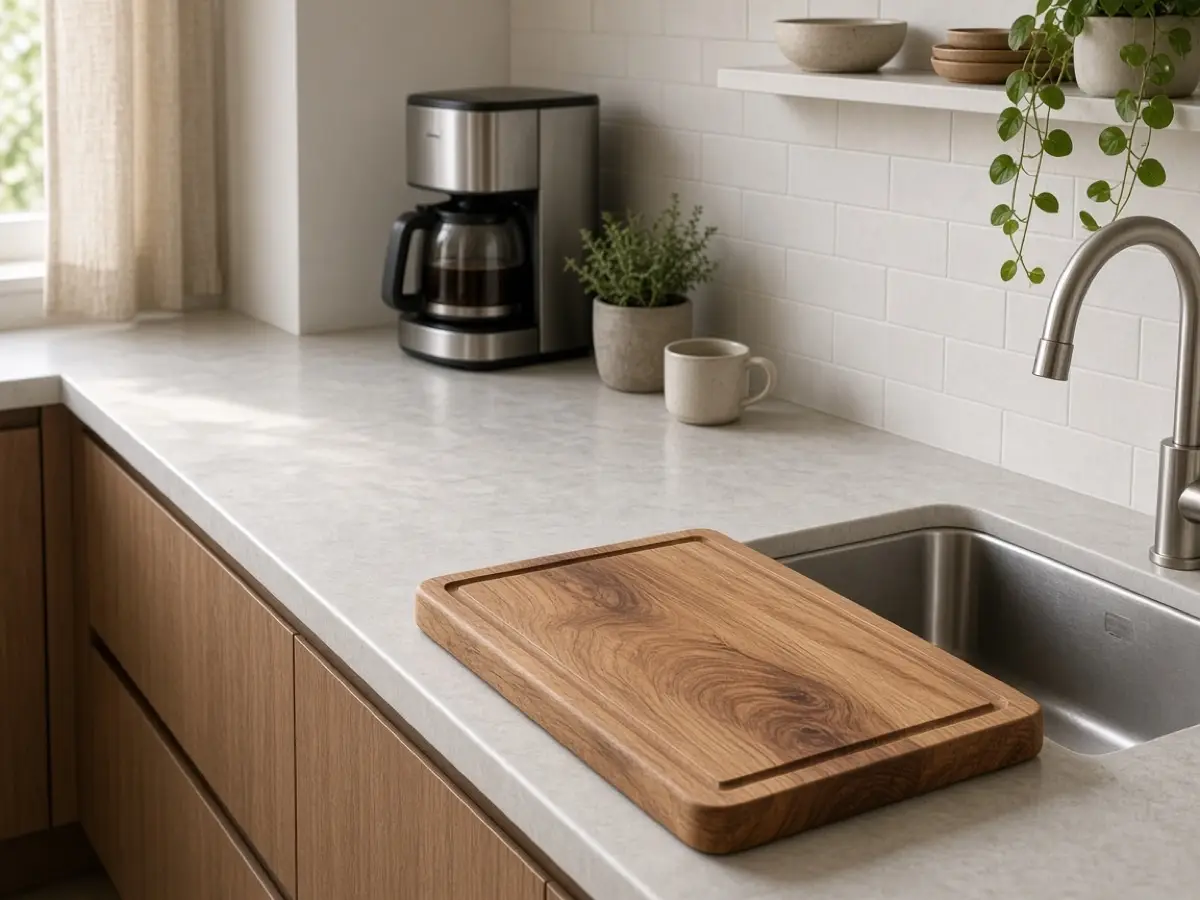


4. Hang the mugs
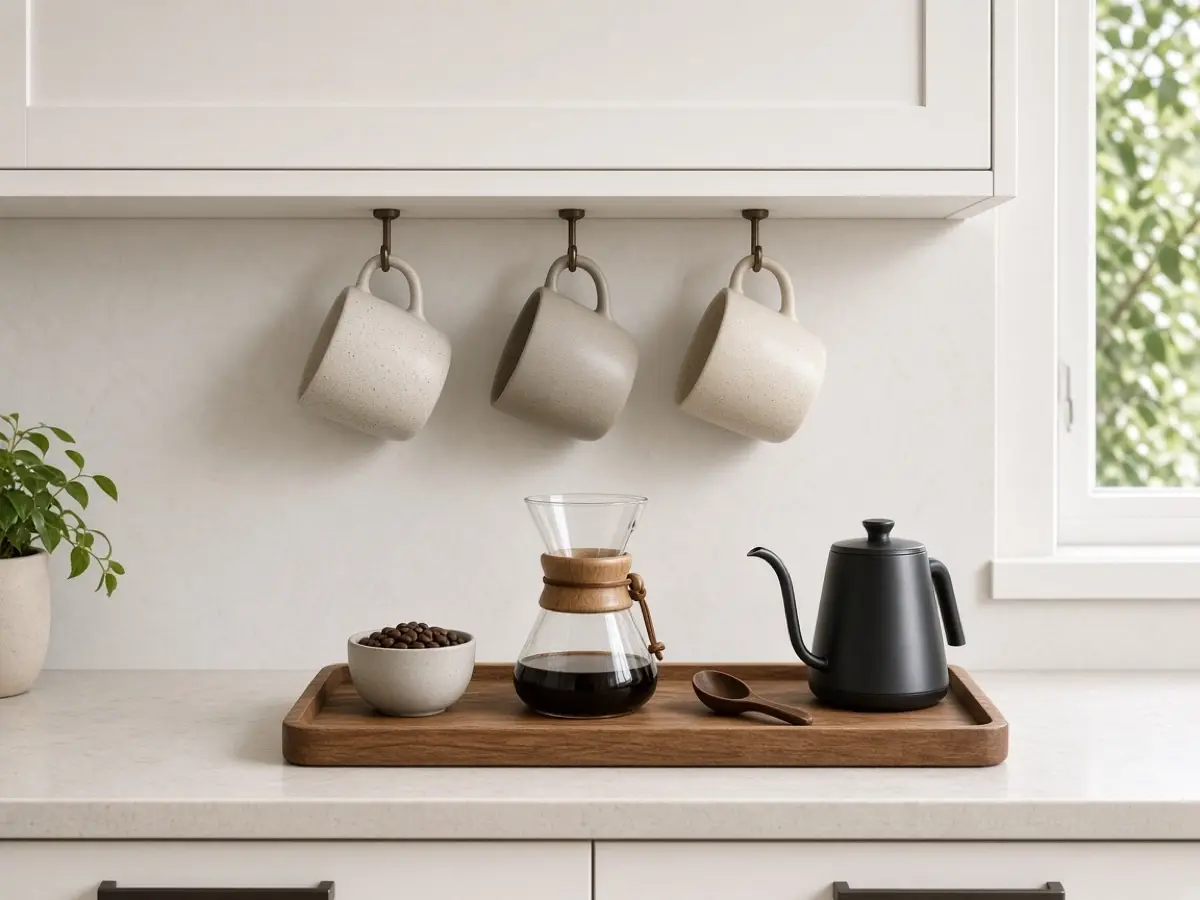
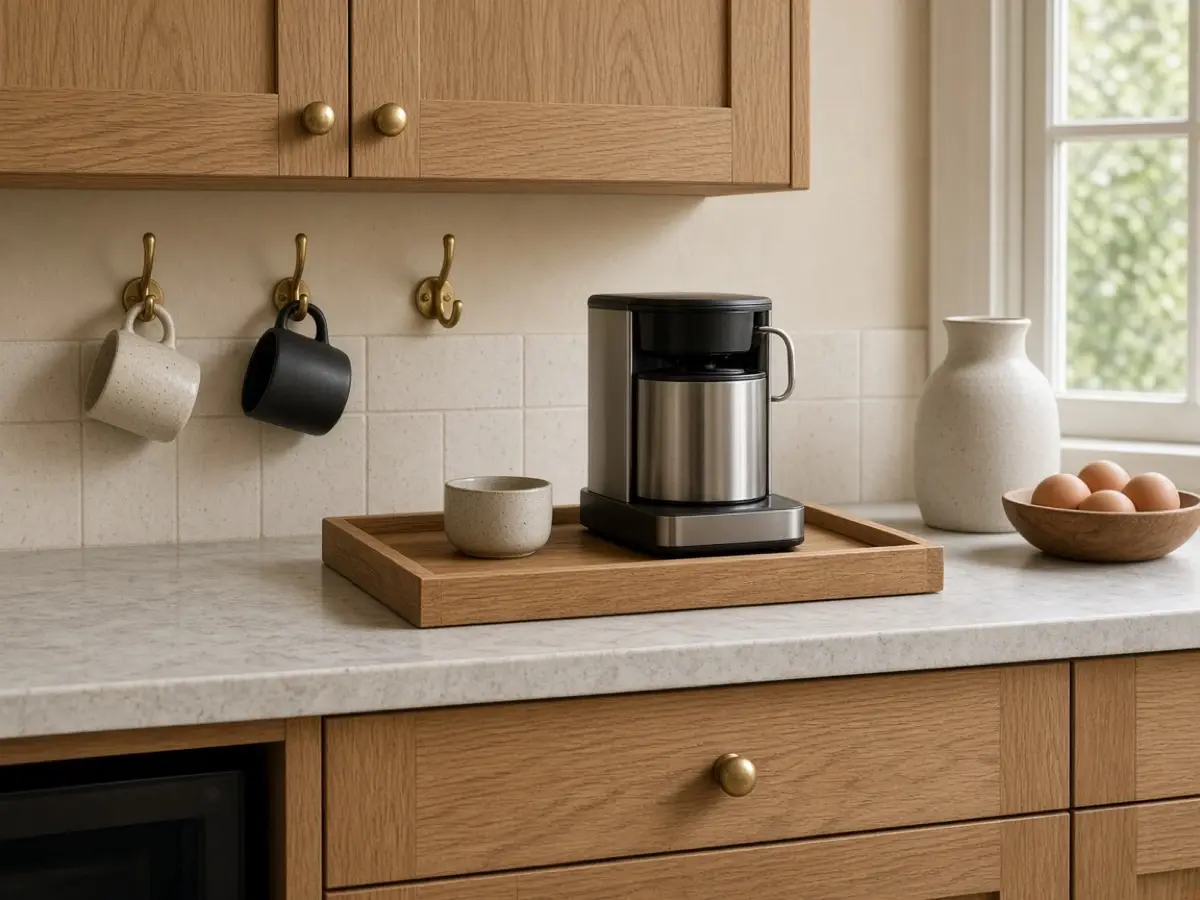
Four mugs on the counter is a still life that blocks the tray. A hook rail under the cabinet, or three hooks on the side of a nearby open shelf, gets them off the work surface. Leave 10 inches of clearance under the hook so a mug does not tap the machine lid. Two everyday mugs hang. The rest live in the cabinet you already own.
If the backsplash is the one you just painted in the kitchen wall post, keep the hooks in the same metal as the cabinet knobs. The coffee corner should look like it belongs to the kitchen, not like a shop dropped onto the counter.
Get the look


5. Close the beans
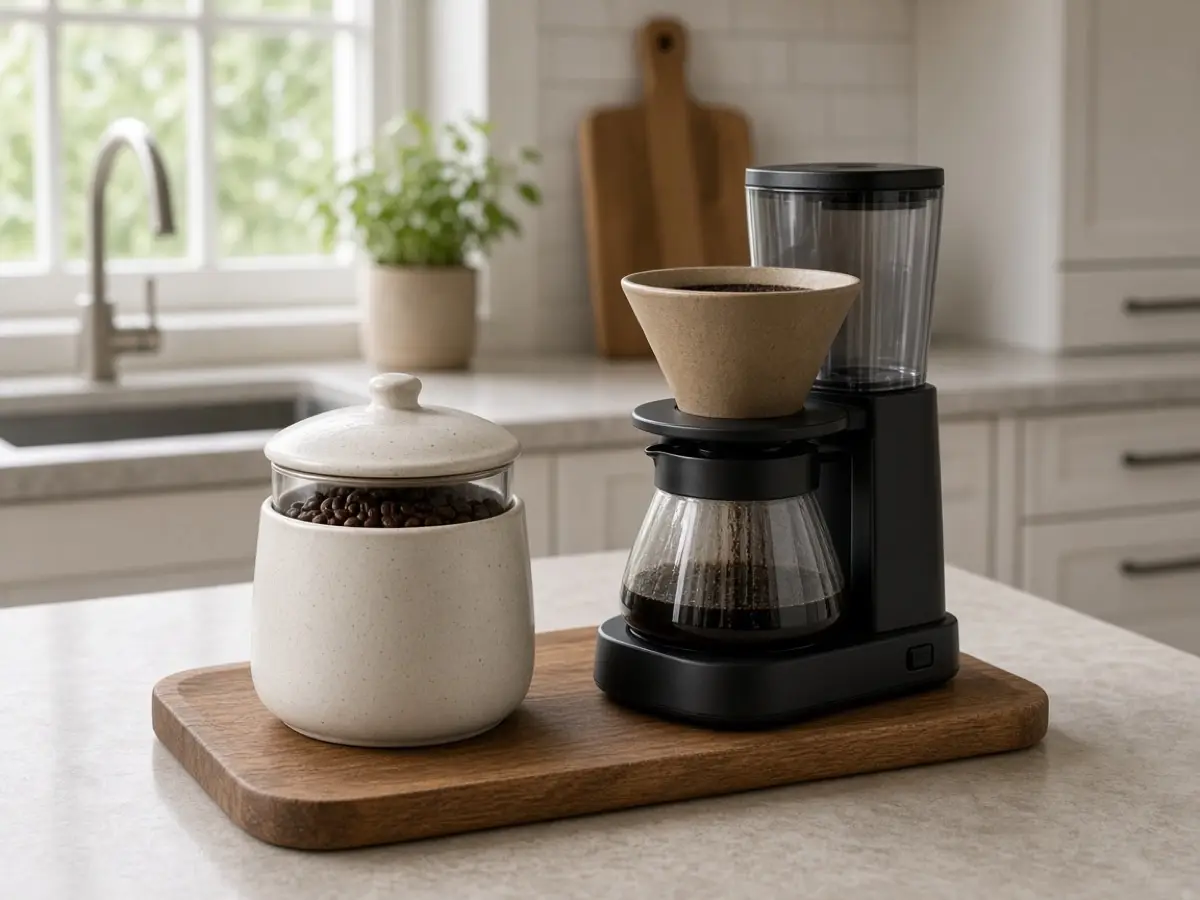
An open bag is a smell and a spill. A canister with a gasket, no taller than 7 inches, sits at the back of the tray. If you buy beans weekly, the canister only needs to hold what you will use before the next bag. A giant crock becomes another object to move at dinner.
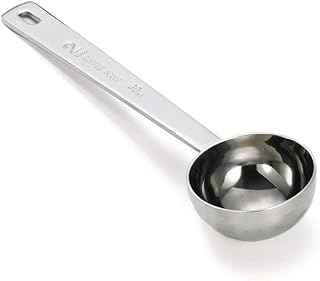
Keep the scoop in the canister or on the tray, not in the bag. Label the lid with the roast date in pencil if you care. If you do not, skip the label. The lid is the point. Grounds in a jar go stale faster than beans, so grind what you will drink this morning if you own a grinder that fits the strip.
Get the look


6. Put water one step away
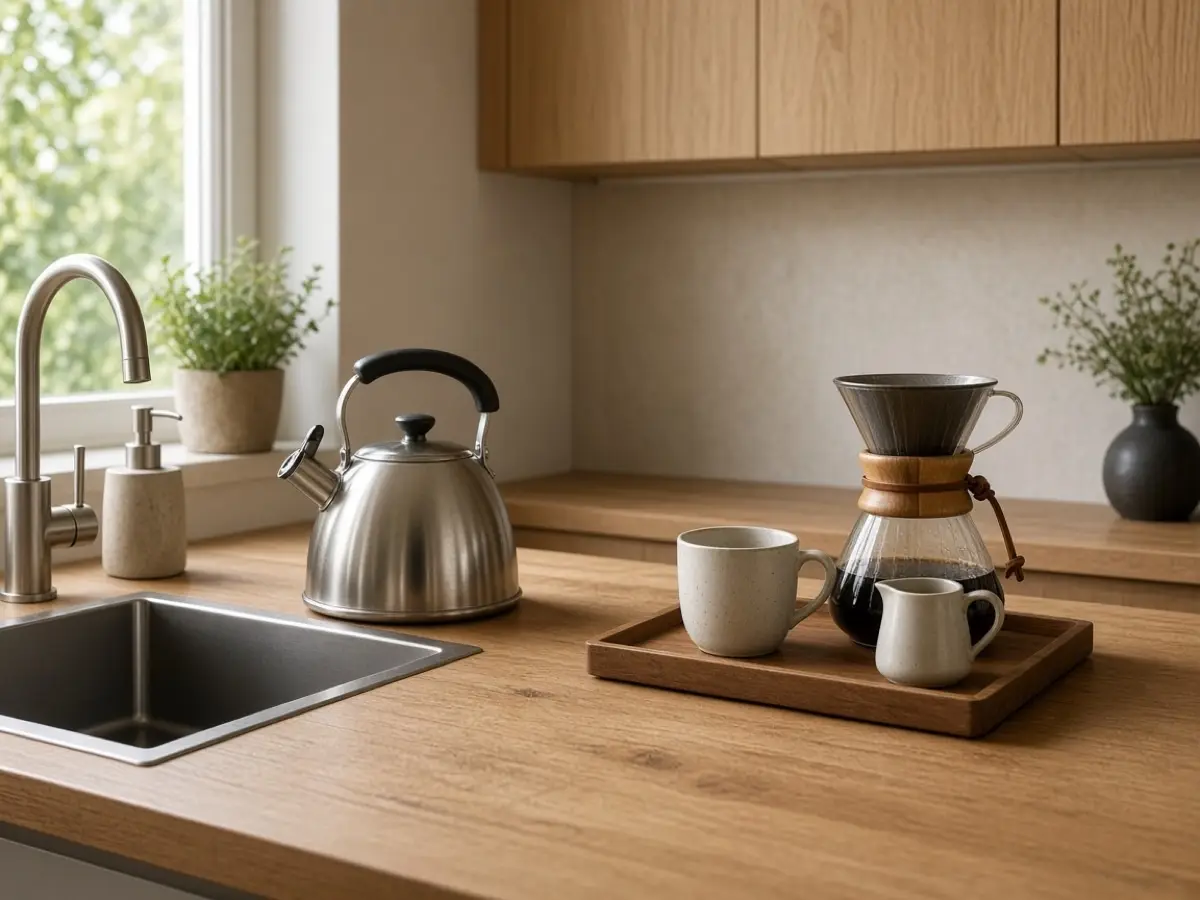
If the coffee strip is not next to the sink, you will carry water. That is fine if the kettle lives at the sink and only the machine lives on the tray. Filling a reservoir at the counter and then walking drips across the kitchen is how the floor gets sticky. Fill at the sink. Set the reservoir in, then wipe the tray.
A kettle that stays on the coffee tray needs a trivet if the tray is wood. Electric kettles belong where the cord does not cross the prep zone. If both the kettle and the machine want the same 18 inches, the kettle wins a spot on the stove you already have, and the machine keeps the tray.


7. Run the cord along the back
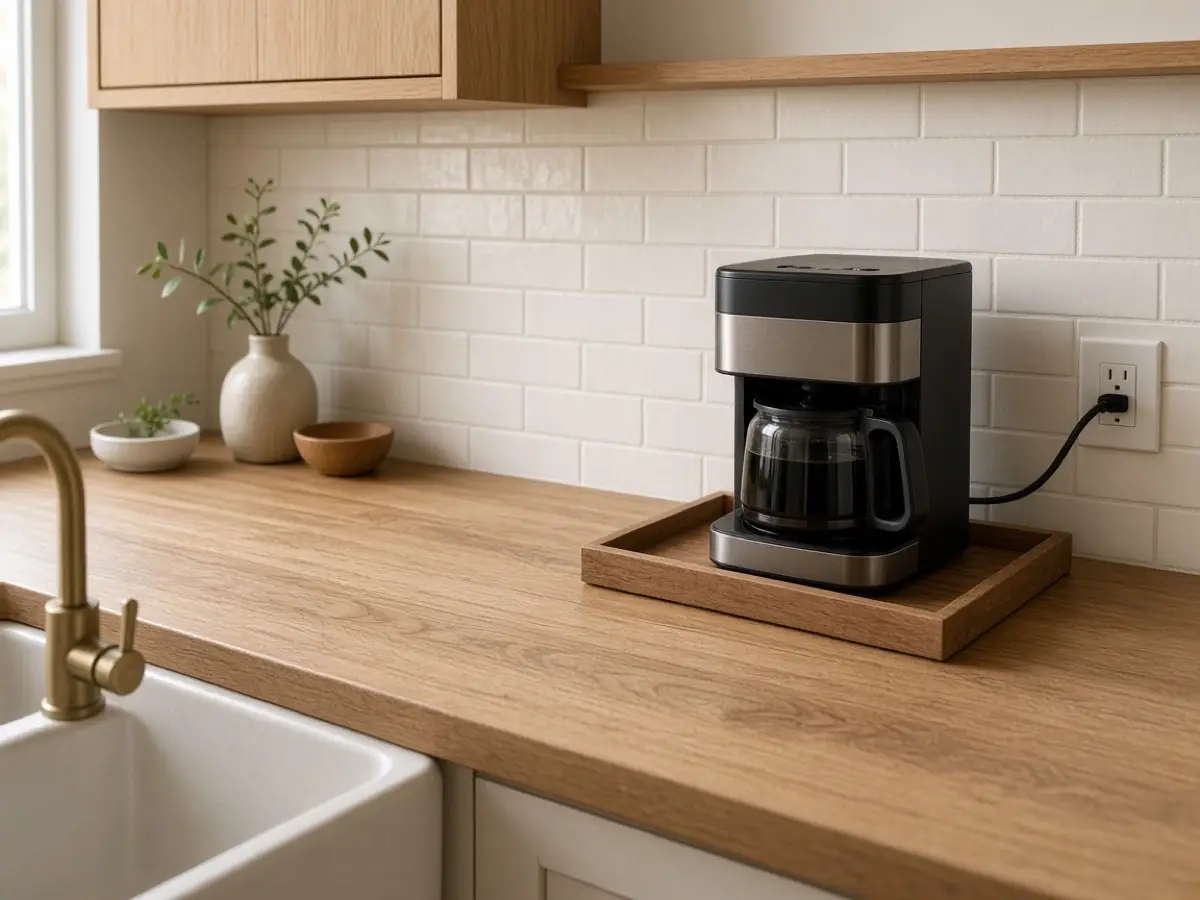
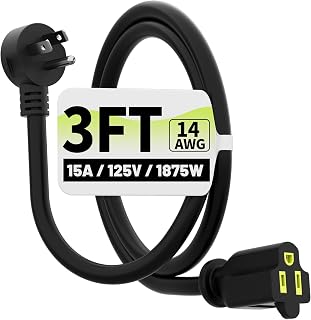
A cord across the front of the counter is a snag when you are carrying a pot. Push the machine to the back of the tray and run the cord straight to the outlet along the wall. A short extension is better than a long one coiled beside the flour. Coil is a dust trap and a fire hazard if it is buried under a towel.
If the outlet is switched, know which switch it is so you do not “fix” a dead machine that is only off at the wall. Label that switch with a dot of tape for a week until everyone in the house knows. Then take the tape off.


8. Leave a landing spot for the cup
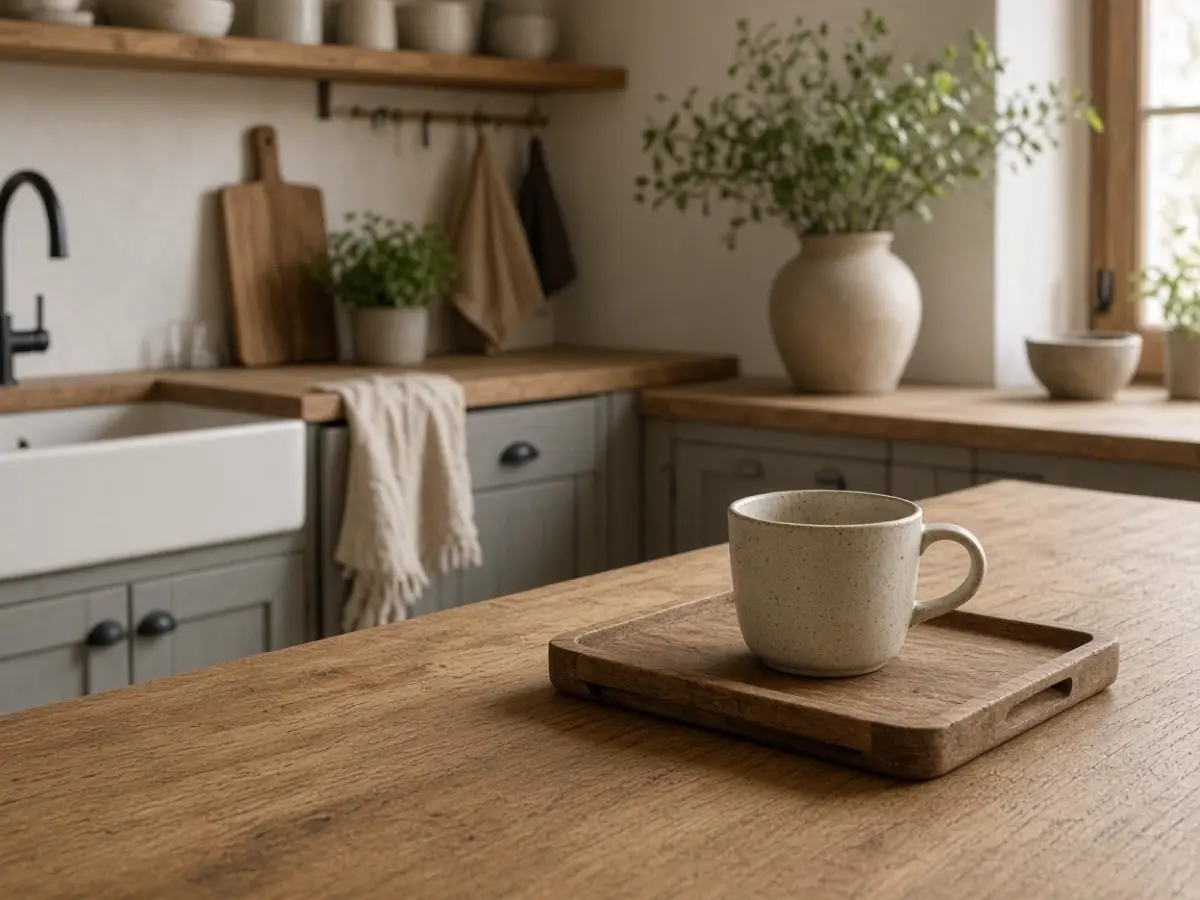
The machine can fill the tray and still fail if there is nowhere to set the cup while you find milk. Keep a 6-inch square of bare counter in front of the tray, or a second tiny board that lives in a drawer and comes out only for the pour. Do not store that board upright against the backsplash all day. It becomes visual noise.
The same 6 inches is where a spoon rests. When you start dinner, that square is the first thing you wipe, and the tray slides back. A coffee corner that cannot get out of the way is not sharing the counter. It has taken it.


9. Add a shelf only if the cabinet is high enough
If there are no uppers over the coffee strip, one shelf at 18 inches above the counter can hold the mugs and the extra filters. If uppers are already there, do not add a shelf under them. You will hit it with the kettle. Use the inside of the nearest cabinet for filters and sugar, on a lazy susan if the cabinet is deep.
Sugar and syrups do not need to be on display. One jar of sugar on the tray is plenty. Flavored bottles are a collection, and collections do not survive a shared counter. Put them away. The morning will still taste the same.


10. Reset the tray before you cook
The coffee corner works if the reset takes two minutes. Grounds in the bin, wand wiped, tray pushed to the back, cup in the dishwasher. Do it when the mug is empty, not when you are already hungry and the counter is hostile. A damp bar towel lives on a hook under the sink, not wadded on the tray.
If the machine needs a weekly descale, put it on the same day you wipe the bathroom globe or the day you already clean the stove. A shared counter cannot carry a dirty machine and a cutting board. One of them will lose, and it should be the crumbs.


11. Skip the stool if the path is tight
A stool at the coffee end is a chair in the walkway. You need 36 inches of clear floor in a kitchen path. If the stool steals that, people will stand in the coffee strip to get by, and the tray will live on the floor half the time. Drink the cup at the table you already have.
If the kitchen is wide and the stool tucks fully under the counter overhang, then it can stay. The overhang needs to be at least 12 inches or your knees hit the cabinet. No overhang, no stool. Standing for the two minutes the coffee takes is not a hardship.


12. Match the hardware you already own
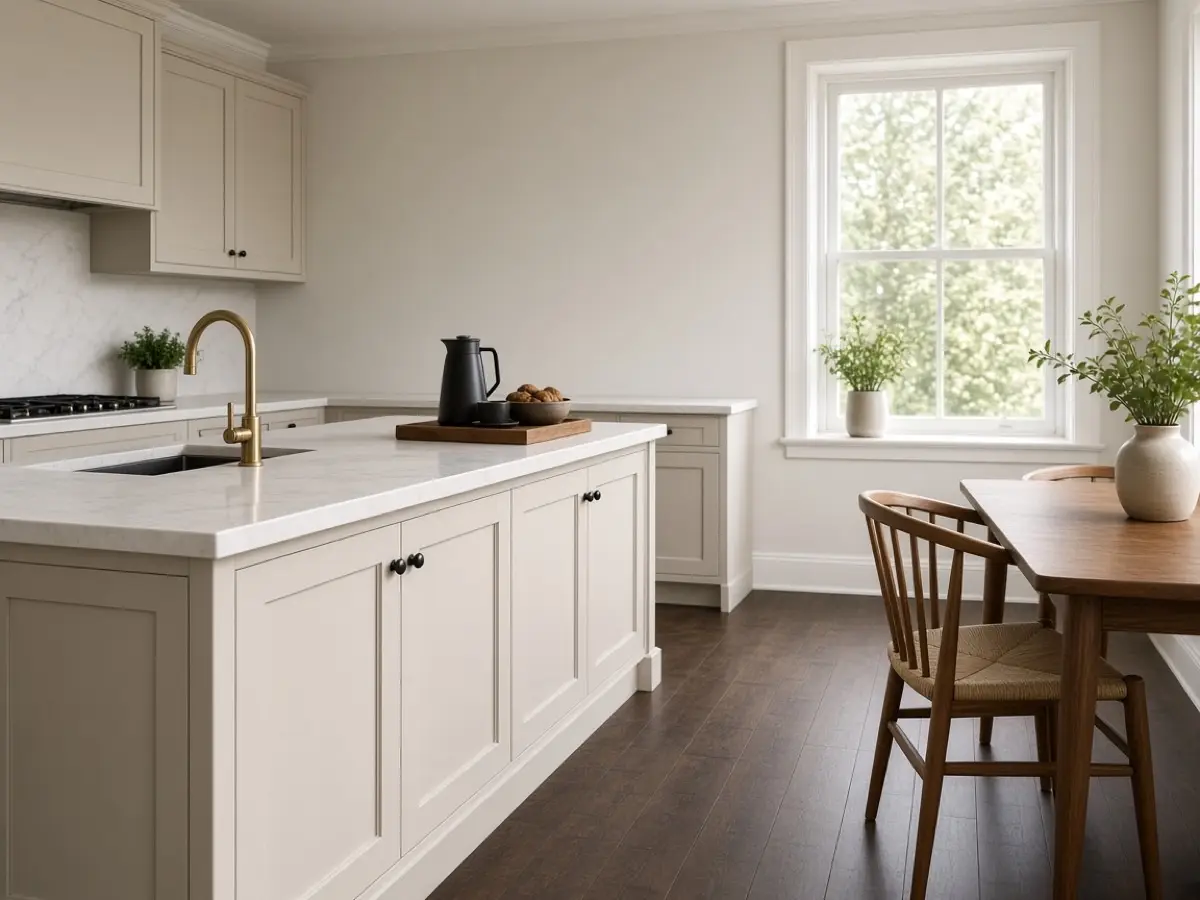
The tray, the canister, and the hooks should share one metal or one wood tone with the kitchen, not introduce a third finish. If the knobs are brass, the hooks are brass. If the counters are oak, the tray is oak or walnut, not glossy black plastic with a logo you cannot hide. Peel the brand sticker off the machine on day one.
This is the same edit as the living room: use what you own, and do not let the new corner shout. A shared counter looks finished when the coffee things could be put away and the kitchen would still look like itself.


Tips Before You Start
- Measure the strip, the open-lid height, and the machine depth before you buy a bigger brewer.
- Keep the sink’s prep zone clear. Coffee can walk farther than a knife can.
- One tray is the whole boundary. If it does not fit on the tray, it does not live on the counter.
- Hang mugs. The counter is for the machine and the cup you are pouring.
- Reset the tray when the mug is empty, before dinner starts.
- Match one finish already in the kitchen so the corner does not look borrowed.
FAQ
How do I add a coffee bar to a kitchen counter I cook on?
Give it 14 to 18 inches at the end of the counter, put it on a tray, and keep it out of the 24 inches beside the sink. You should be able to slide the tray back when you need the board.
Where should a coffee maker sit in a small kitchen?
At the end of a counter run, not in front of the knife zone and not where an upper cabinet blocks the lid. If the only outlet is in the wrong place, run a short cord along the wall.
How do I keep a coffee station from getting cluttered?
Hang the mugs, close the beans, and allow one jar of sugar on the tray. Syrups and extra mugs go in a cabinet. If it does not fit on the tray, it does not stay out.
Do I need a coffee bar cart?
Only if the counter cannot spare 14 inches or the lid hits a cabinet. A cart still needs a path of about 36 inches. A tray on the counter you have is the smaller, better answer for most kitchens.
A coffee corner on a working counter is a strip, a tray, and a two-minute reset. Hang the mugs, keep the machine out of the prep zone, and the kitchen can still make dinner.